- Starting out
First of all, what does this thing do?
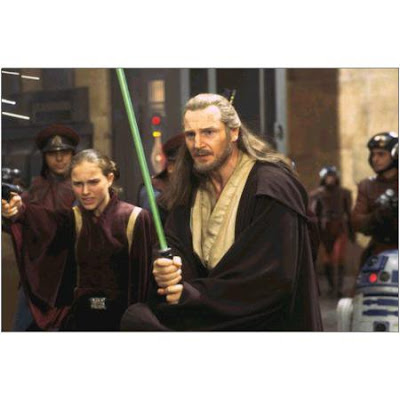
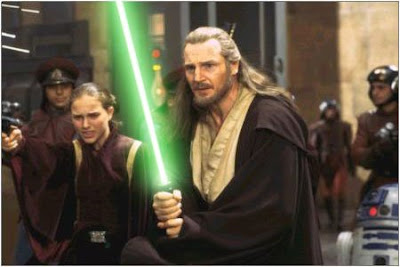
And have it end up like a real lightsabre - like this:
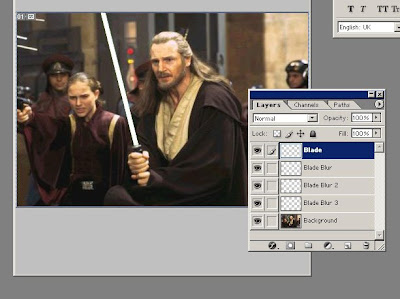
- First Thing
Well, the first thing you've gotta do is a straight, white line that covers the Lightsabre as accurately as possible. If you cant cover it, make it smaller than the sabre. In this picture, the sabre is 6 pixels thick.
- The shape of things to come
The 2nd blade blur will be twice as thick, and the third Three times as thick as the line. If you want, you can go on and on and on, until you hit a reasonable limit.
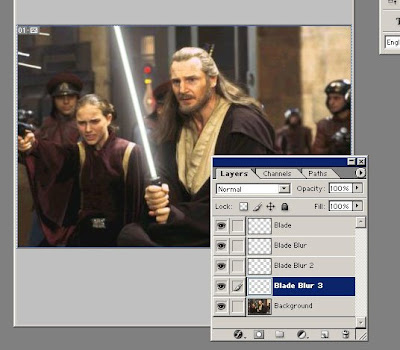
This is still ghostly white, but at least it looks like a light beam instead of a white line.
- Have you saved yet?!
What do you mean no?
The following step is where things might go wrong, so you gotta save. The .psd file will keep the layers as they are, and then you proceed ahead and merge all the layers which you previously blurred. It should now look like this:
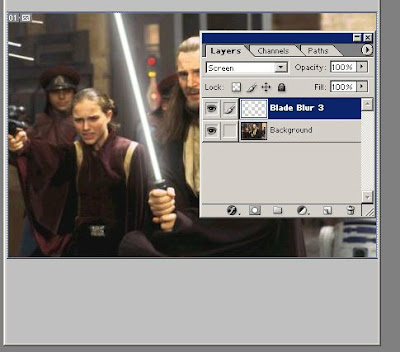
At this point, you may add a "lense flare" effect to the hilt of the Lightsabre to make it look nicer. Note this will work best if added directly onto the hilt, meaning not on the Merged layer but on the background.
- It comes to life...
Now starts the real magic. Anyone will tell you the trick with lightsabres is the glow - it has to be strong enough to be noticed, subtle enough to look natural and allow the objects behind it to be seen. How does one accomplish this? Regular techniques call for you to use Neon Glow. We, however, will not. We'll play with the Blend type and the Outer Glow color.
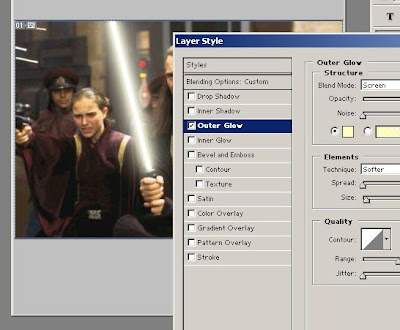
Select your merged layer and change it to "Screen". Now, right click it and select Blending Options.
Click Outer glow - it should look like this:
- Crossroads
Here you have two options.
A) Play with the Color Balance.
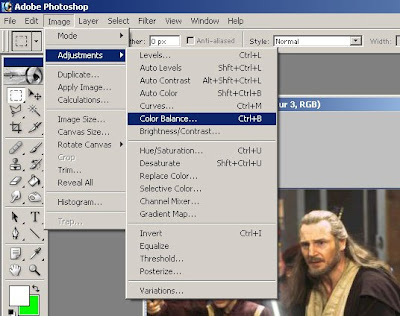
Move the color balance tabs up - you want Blue, move the midtones and highlights all the way up to Blue.
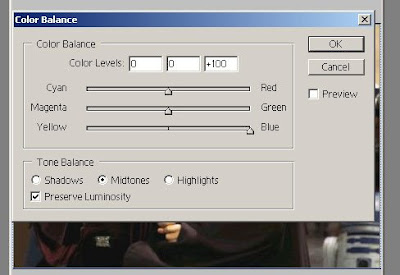
Color Balance, however, has a problem. It will occasionally have little visible effects.
- The Outer Glow
If you're here, it means Color Balance dissapointed you, or you wanna try out another method.
This is the method I personally use.
You probably noticed when you did the outer glow effect that it has a yellowish-color to it. That's what we want to change.
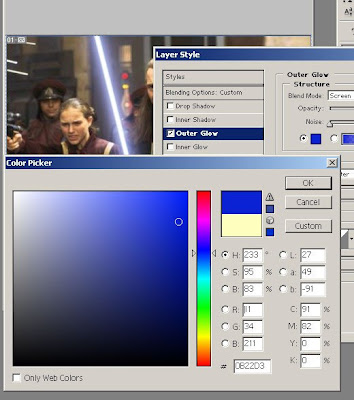
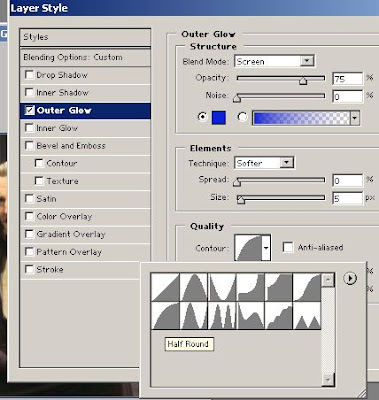
By clicking on that yellow square on Outer Glow, a color menu pops up. I selected a pretty Blue shade, and you see the blade immediately takes a Blue glow to it. For purely cosmetic reasons, I'm going to change the Contour to the "Half Round" option
- Final Product
By now, this
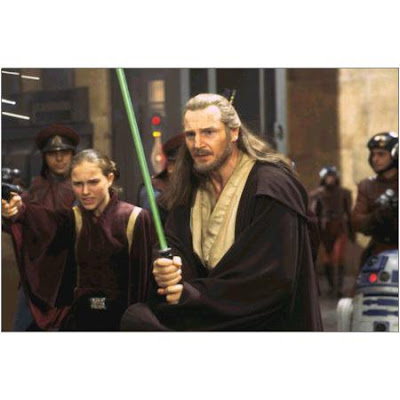
has become this:
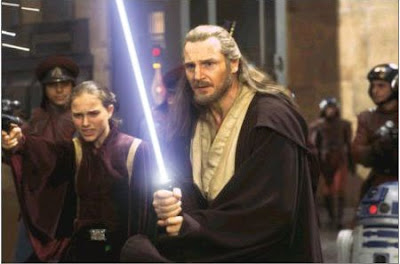
And all done in Eight simple pages. But this isn't limited to lightsabres, no sir!


